

Core features · Explorer
Explorer
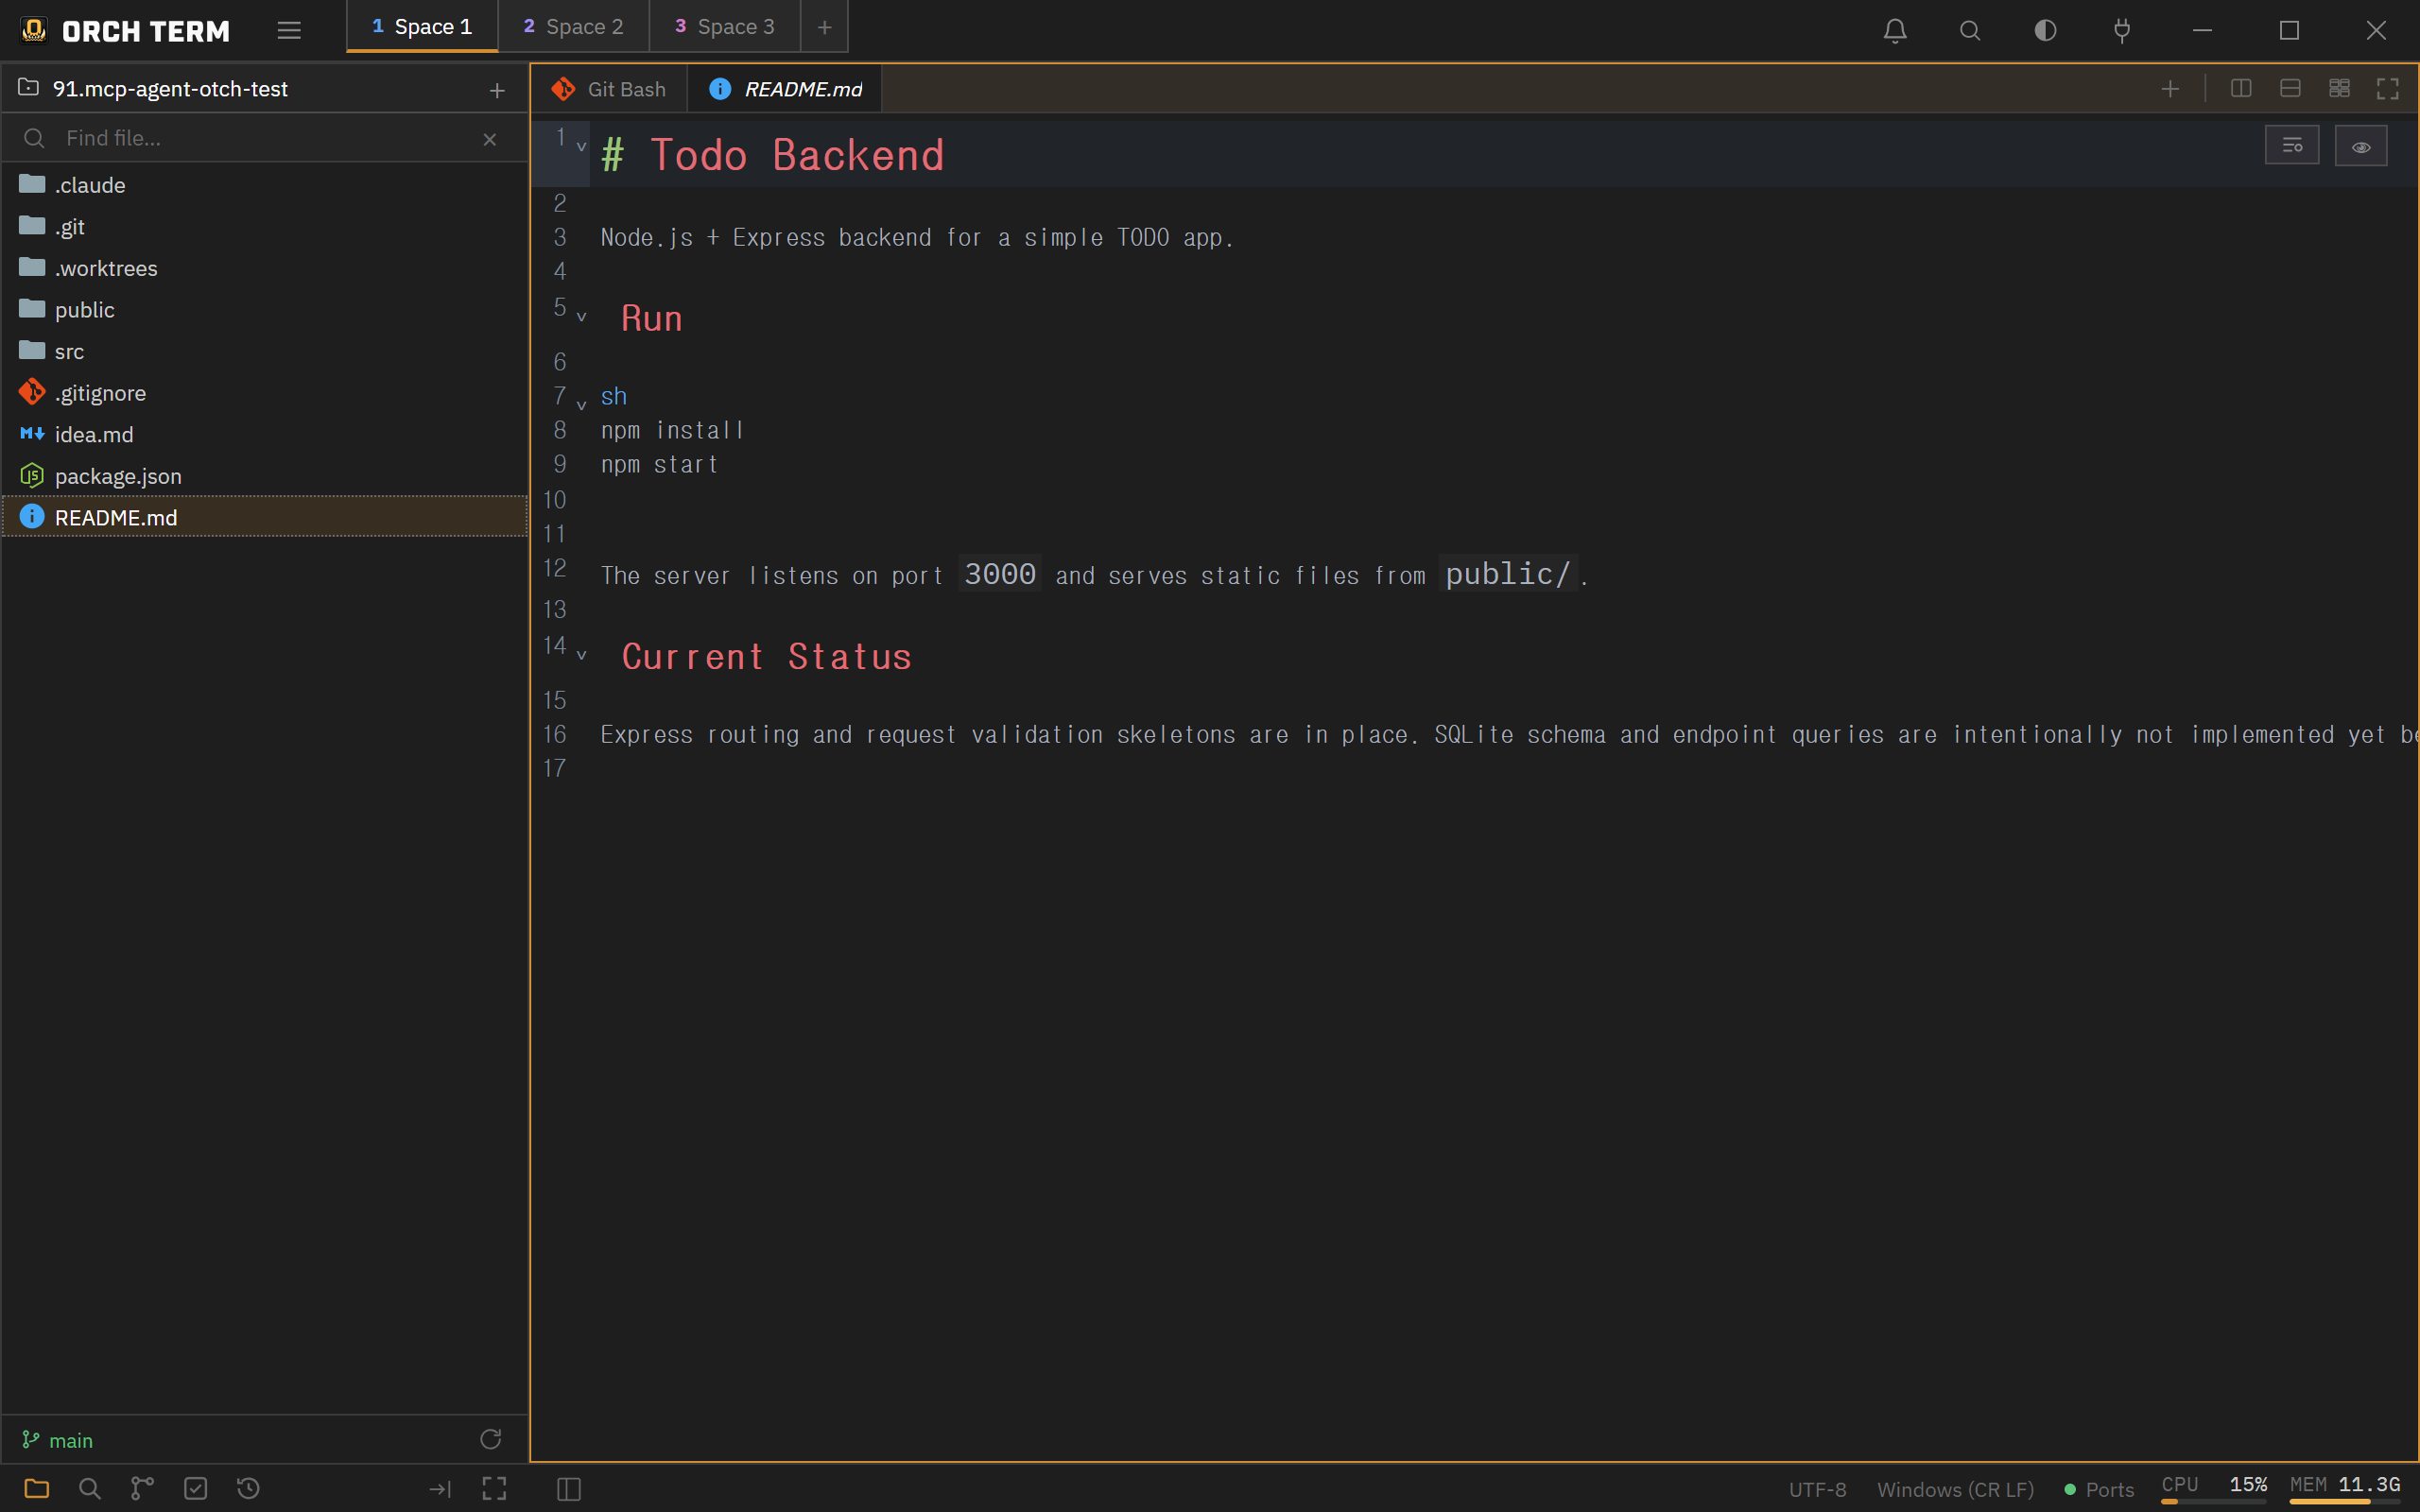
The file explorer on the left. Switch between several project roots in one window, navigate the tree with the keyboard alone, and handle files with inline create, rename, and drag & drop.
Switch between multiple projects
Clicking the project name in the Explorer header opens a dropdown to switch between the registered project roots. The + button adds a new root. The list and the active root are saved and restored on restart.
Keyboard navigation · multi-select
Work the entire tree without a mouse. Move between items with the arrow keys, and just type letters to jump to an item whose name matches (type-ahead). You can multi-select several items and open them at once as preview tabs.
exp…) to jump to a matching name.| Key | Action |
|---|---|
| ↑ / ↓ | Move between tree items |
| Enter | Select · open the item |
| Esc | Close dropdown / search |
| Type a letter | Type-ahead — jump to a matching name |
File search — type in the search bar and it finds files by partial filename match not just in the current folder but across all subfolders. Heavy folders like node_modules·.git·target·dist are excluded by default.
Inline create · rename
Create a file or folder right at the selected spot, and rename in place. When creating, if you enter a nested path all at once like src/utils/new.ts, the missing folders are created along with it.
utils/new.ts in the input row and it creates the missing folders too.Start a rename on an item and you edit it in place. Open tabs stay in sync too, so renames and deletes are reflected directly.
Drag & drop — insert path
Drop a file or folder onto a terminal pane and that item's absolute path is inserted at the cursor, with the pane highlighted while you drop. Dragging with "attach as context" does the same thing but inserts the project-relative path.
Left · right placement toggle
The / buttons in the Explorer footer move the Explorer left ↔ right across the screen. The position is saved and restored on restart.
Collapse/expand is on the status bar — opening/closing the Explorer is done not from the header but from the always-visible button on the left of the bottom status bar. Whether it's collapsed and its width are preserved per Space and restored across restarts.
Right-click empty space → open a terminal
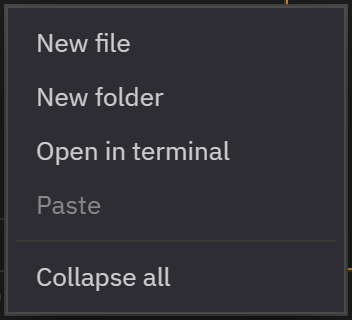
Right-click a folder or empty space in the Explorer and Open in terminal appears. On a folder, a new terminal opens in that folder; on empty space, in the project root. The same menu also has cut · copy · paste · duplicate, reveal in Explorer, copy path, and collapse all.
Open with the system app — binary/non-text files open in the OS default app, and you can also open the OS file explorer with that file selected.
Open with orchterm from Explorer · Finder
After installing, right-click a file or folder in Windows Explorer or macOS Finder to open it straight in orchterm. Opening a folder switches to the Space that already knows it as a project, or — if none does — creates a new Space and terminal named after the folder. Opening a file opens an editor tab in the Space whose project contains it (or the Space you were looking at, if none does). If orchterm is closed it launches and opens; if it's already running, it opens in that same instance — no second window.
Open with orchterm in the right-click menu (for files, folders, and empty folder space alike). On Windows 11 it sits under Show more options (or Shift+F10), not at the top level of the new menu — on Windows 10 it is right at the top level. macOS Finder can't have a top-level entry from a third-party app (neither can VS Code) — instead it uses two submenus: right-click Open With ▸ orchterm, and Services ▸ orchterm에서 열기. The Services entry's title is Korean for now — macOS needs a localized bundle for per-service titles. Dropping a folder onto the Dock icon also works.On macOS,
Open With ▸ lists orchterm for text-like files and folders only. Files whose extension macOS does not classify as text — most notably .ts (macOS types it as a video file), and files with no extension at all (LICENSE, Dockerfile, .gitignore, …) — will not show orchterm in that list. This is a macOS restriction that affects every editor. For those files use Services ▸ orchterm에서 열기 (it accepts any file or folder), Open With ▸ Other…, or drop them onto the Dock icon.This menu is registered by the installer — it won't appear on a build run without installing (e.g. a portable run).